
A couple of weeks ago we created a DIY Bump Photoshoot at Home post and it seemed to go down really well… And we had a request for a newborn one, so here we go! Obviously a DIY photoshoot at home is not the same as having one done professionally, however, being in lockdown doesn’t allow for many other options… or any other options for that matter… so hopefully this will help the new parents who’d like to get some pictures of their newborn baby while they wait to be able to get to a professional photographer.
I have created and shot these set ups with normal families in mind – only using equipment that most people will have.
What you will need:
- a camera of some kind – a phone will do (I’ve used an iPhone)
- a window with daylight
- a blanket or two
- a newborn baby… would definitely be handy. I did not have a baby that I could use, other than my furry baby who was less than co-operative, so I chose my childhood teddy “Rabby”
- a cute washing basket or crate of some kind! Unfortunately we only have a boring plastic washing basket but I have used it for demonstration purposes
- an extra pair of hands or two!
Safety disclaimer:
- As a newborn photographer, safety is always my top priority. Please, please, please *never* leave your baby on something that is not secure without having someone right there to spot. This includes a bed! Even if you think your newborn looks super comfy and wouldn’t fall off, babies can startle and it’s not worth the risk.
Right, let’s get started!
Photo 1:


For this shot, you’ll need two blankets (or a blanket and a towel). Roll up the towel or extra blanket and make a circle with a little dip in the middle (see photo below), then lay a blanket over the top. You can keep it neat on the outsides or pinch in the blanket like I have. The blanket circle/dip will help baby scrunch up and get super comfy! Lay baby on the cushioned part of the blankets with baby’s body slightly in the little dip, either side onto the window, or head towards the window (so feet are away from the window). I’ve chosen side on for this image. Photograph baby from above – try not to have your camera angled too far below baby’s nose. Make sure you have a good grip on your camera/phone (in the studio, when I photograph babies from above, I have a camera strap on just in case!)


Photo 2:

For this set up you use almost the same set up as the first photo, except if it’s a fairly large basket you will need to fill out the basket. See video below on how I’ve done that. As for which way to face baby, the same applies as the previous image – I’ve chosen head towards the window for this shot (so I am lighting baby from above). If you have ‘Portrait Mode’ on your phone, this set up works well with this as it makes the floor slightly blurry!

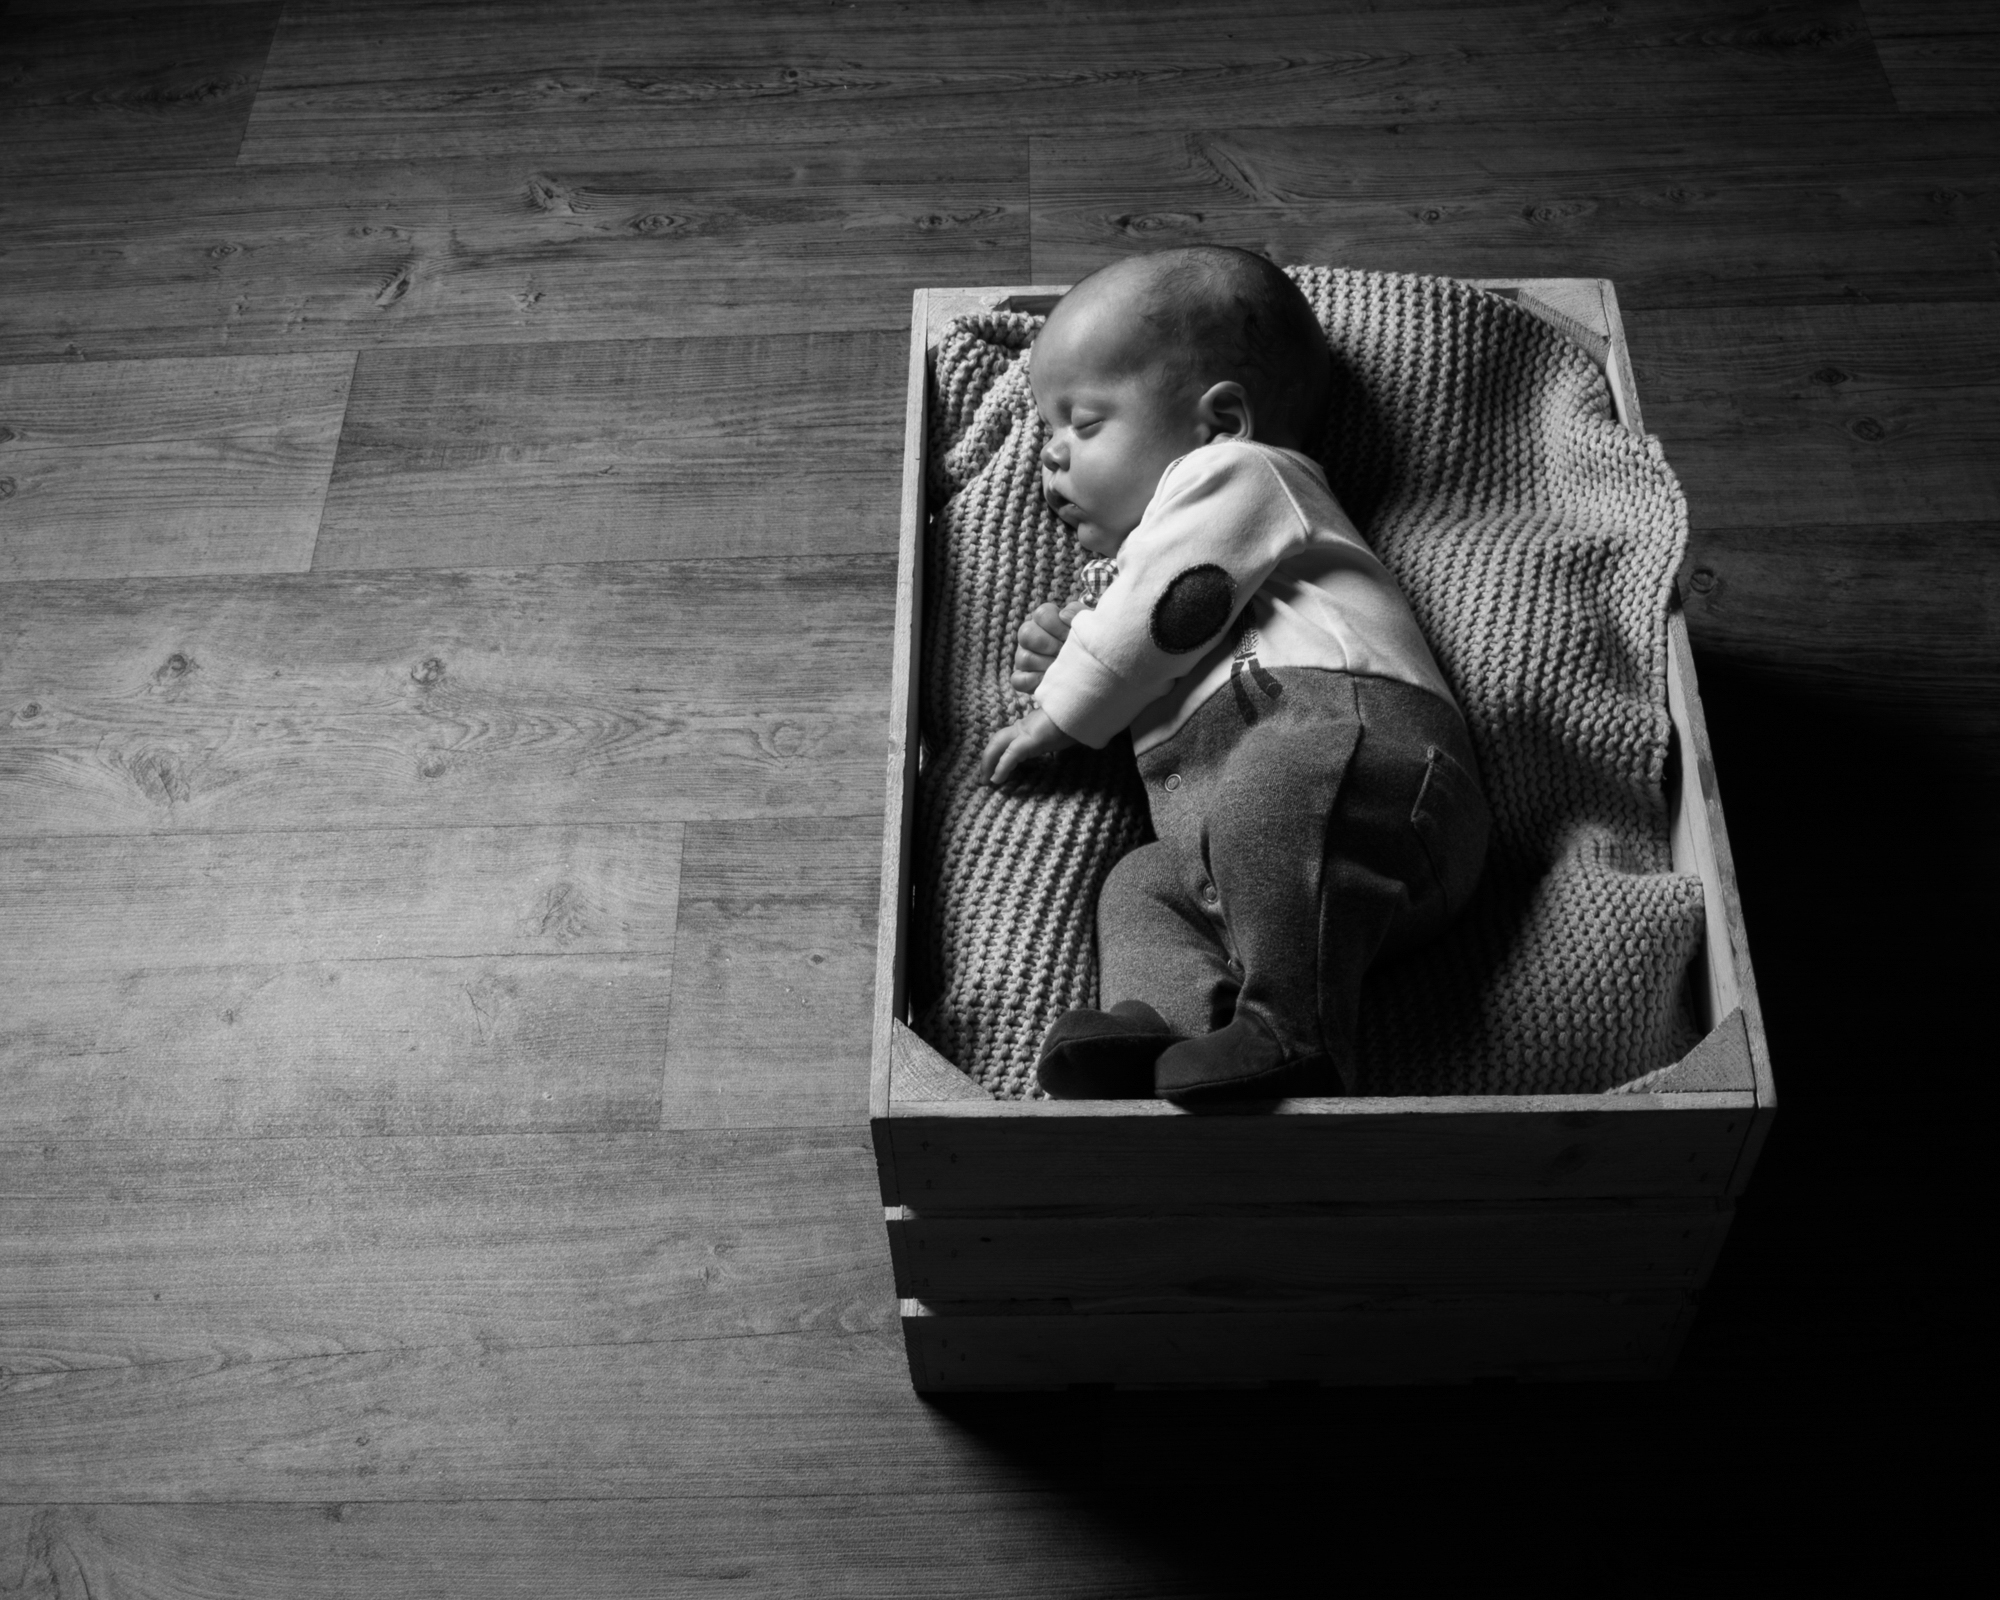
Photo 3:

Once again, this is the same set up as before! You will need baby side on to the window for this shot. I recommend getting down low like I have so the lighting shows it’s best.

Photo 4:

This set up still uses the nice cushioning we set up before, but I’ve moved baby onto their side, facing the camera. The window light is coming in from above the baby’s head. This works best if you have a nice plain wall to work with – if you don’t, get someone to help with holding up the excess blanket as a backdrop!

Photo 5 (with parents):

I may have roped in Ben and Bob for this one… But I absolutely adore doing this sort of set up in the studio so I had to recreate it at home! This can work with either parent, but if you are in the photo, you will need to have someone take it for you. Stand side on to the window and hold your baby as Ben is holding Bob above (I guarantee your baby is lighter than my furry baby is though! He’s a chonky floof!) The photographer needs to use the camera settings to expose for the window and not the subject, which will create almost a silhouette effect. You can do this on an iPhone by either touching the window or touching the subject and sliding down.
And there we are! Get creative with it – the trick to any good photograph is good lighting. You could even add props like flowers, teddy bears, tiny shoes, pieces of cute coloured cloth if you have it – and you could photograph newborn in cute little outfits, in their nappy or even naked. Don’t forget to get photos of your newborn’s tiny hands and feet and adorable tiny facial features!
On a final note… If you give it a go, please tag me or send me your images as I would LOVE to see them. (I won’t share them without your permission, of course)
Good luck and if you need any help – just get in touch!
Zoë x
p.s. don’t forget to message us to add yourself onto our waiting list for a photoshoot when we reopen! We’re all set for 13th April and will be opening our diary up around end of March. We would love to see you!